Steem Developer Portal

JS: Steemconnect
Understand the basics of using Steemconnect with your Steem application.
Full, runnable src of Steemconnect can be downloaded as part of the JS tutorials repository.
In this tutorial we will setup Steemconnect for demo application and step by step show the process of setting up dedicated account for your app to use Steemconnect Dashboard and setup backend of your application to use Steemconnect authorization properly.
Intro
The application in this tutorial asks the user to grant an access to demo-app and get token from Steemconnect. Once permission is granted, demo-app can get details of user via an api call that requires access token.
Purpose is to allow any application request permission from user and perform action via access token.
Some other calls that require an access token (or login) are:
- Vote
- Comment
- Post
- Follow
- Reblog
Learn more about Steemconnect operations here
Steps
- Steemconnect Dashboard Create account for application and set up dashboard
- Initialize Steemconnect Initialize SDK in your application code
- Login URL Form login url for user
- Request token Request token with login url
- Set token Set or save token for future requests
- Get user data Get user details with token
- Logout Logout user and clear token
1. Steemconnect Dashboard
Steemconnect is unified authentification system built on top of Steem built in collaboration of Busy.org and Steemit Inc. Layer to ensure easy access and setup for all application developers as well as secure way for users to interact with Steem apps.
Setting up Steemconnect in your app is straight-forward process and never been this easy.
Here are the steps that helps you to setup new app:
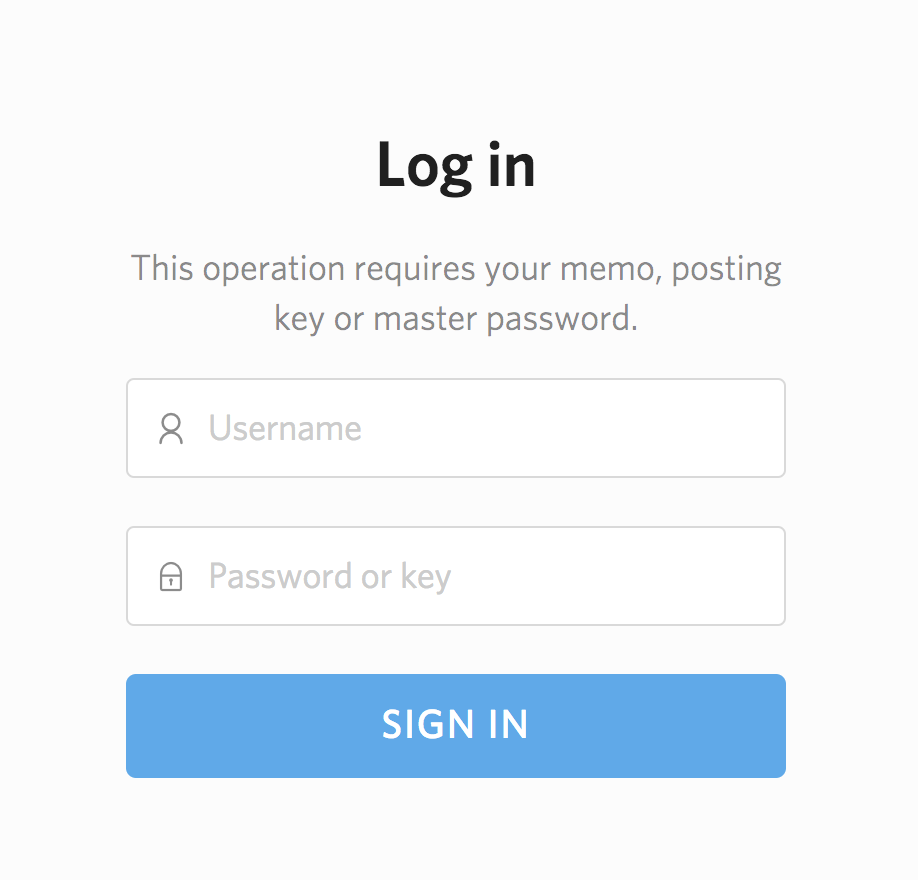
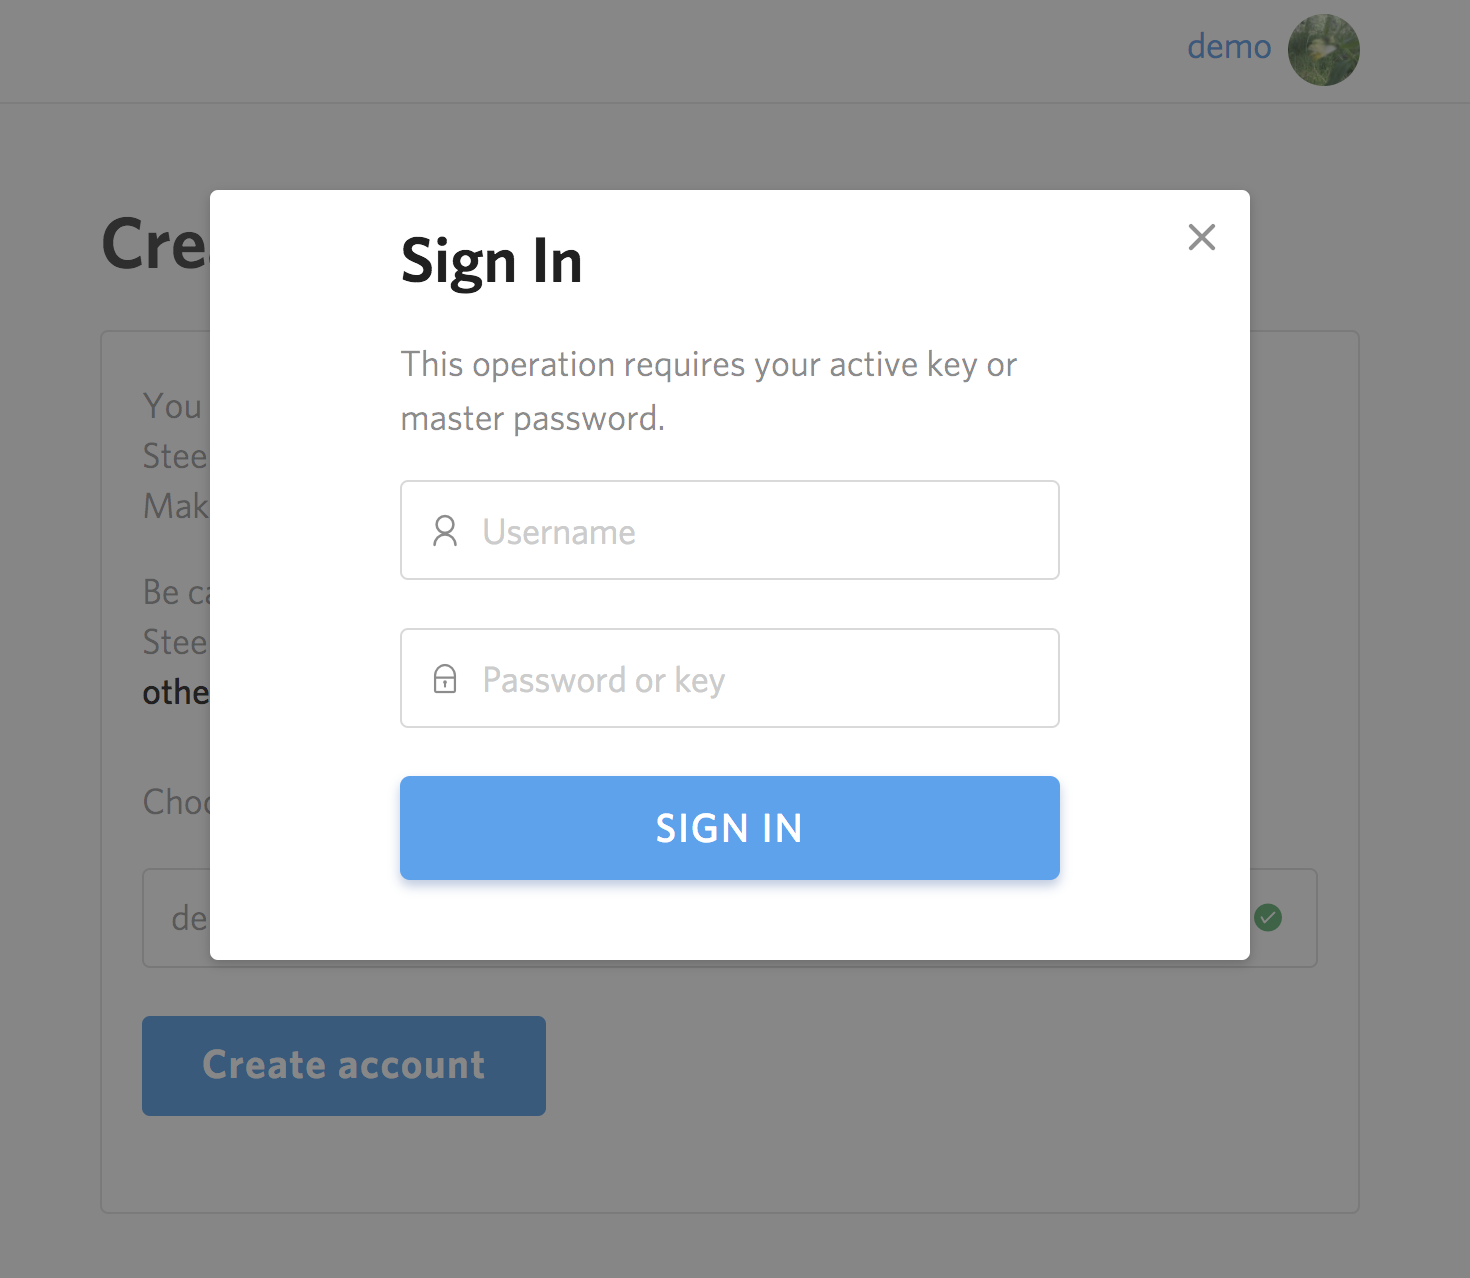
1a. Visit Steemconnect Dashboard and login with your Steem credentials
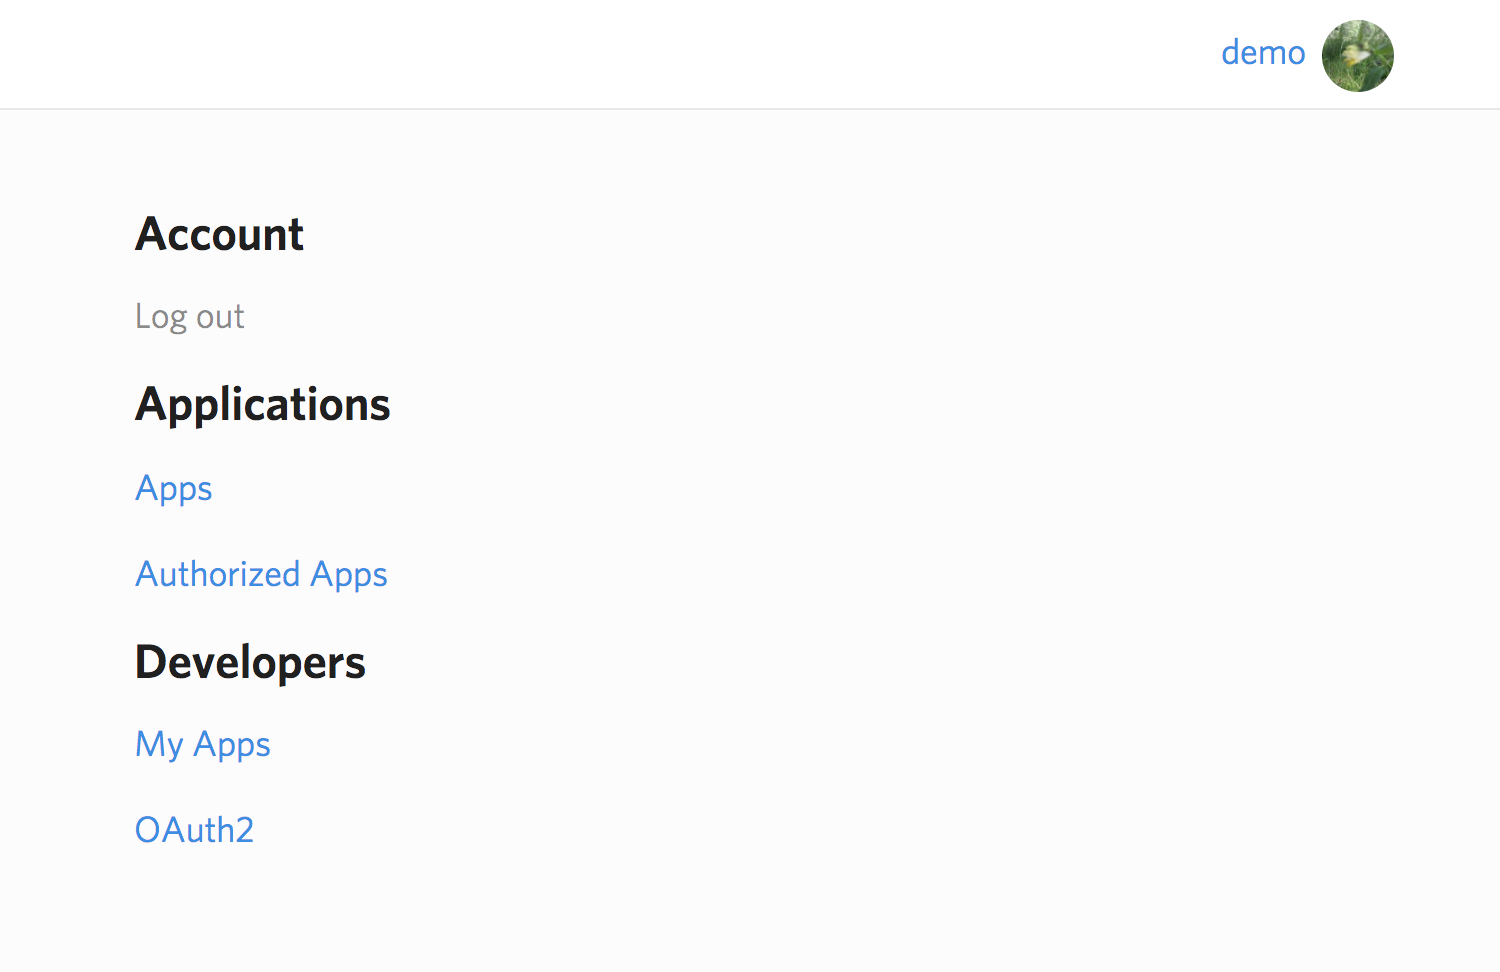
1b. You will see Applications and Developers section, in Developers section click on My Apps
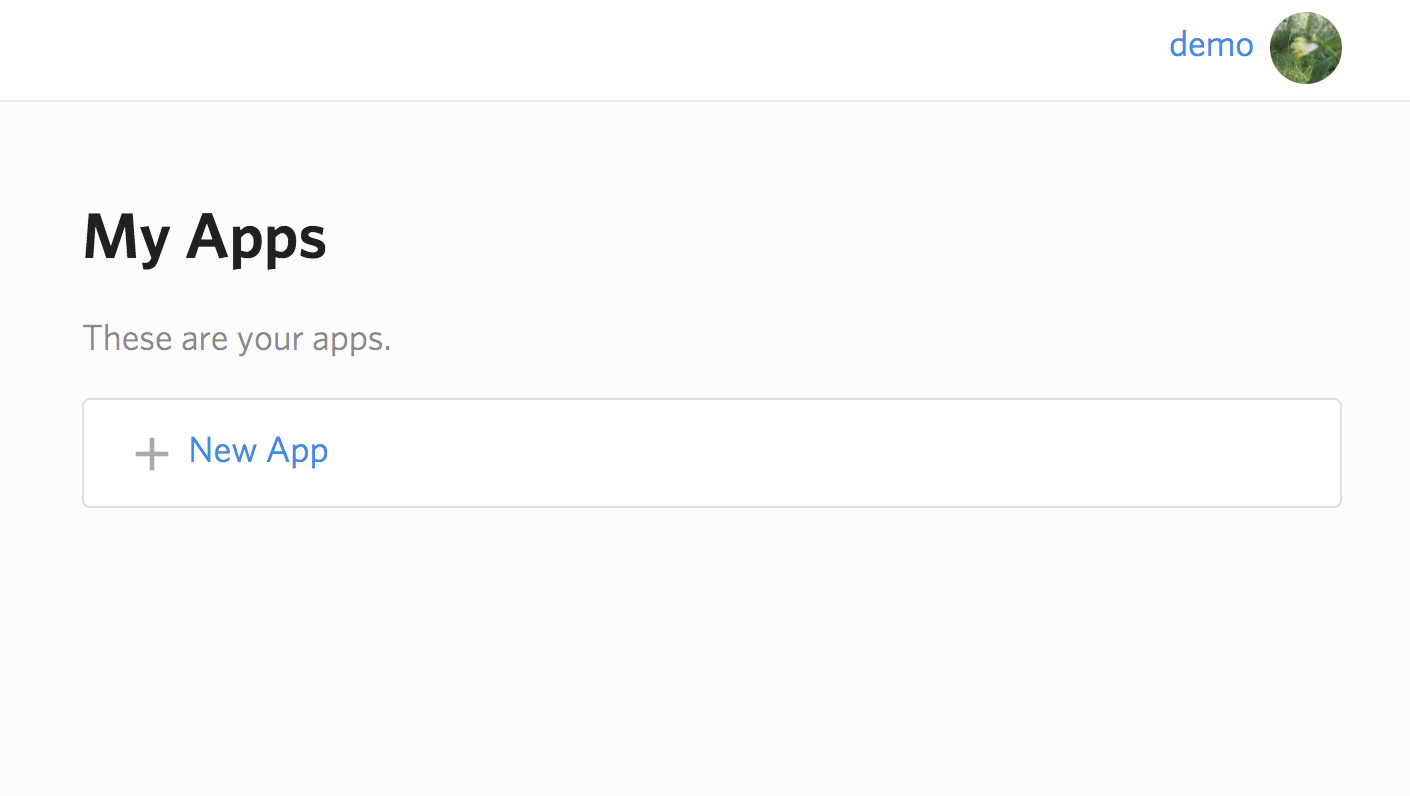
1c. Create New App using Steemconnect, which will help you create new Steem account for your application. Let’s call it demo-app for this tutorial purpose.
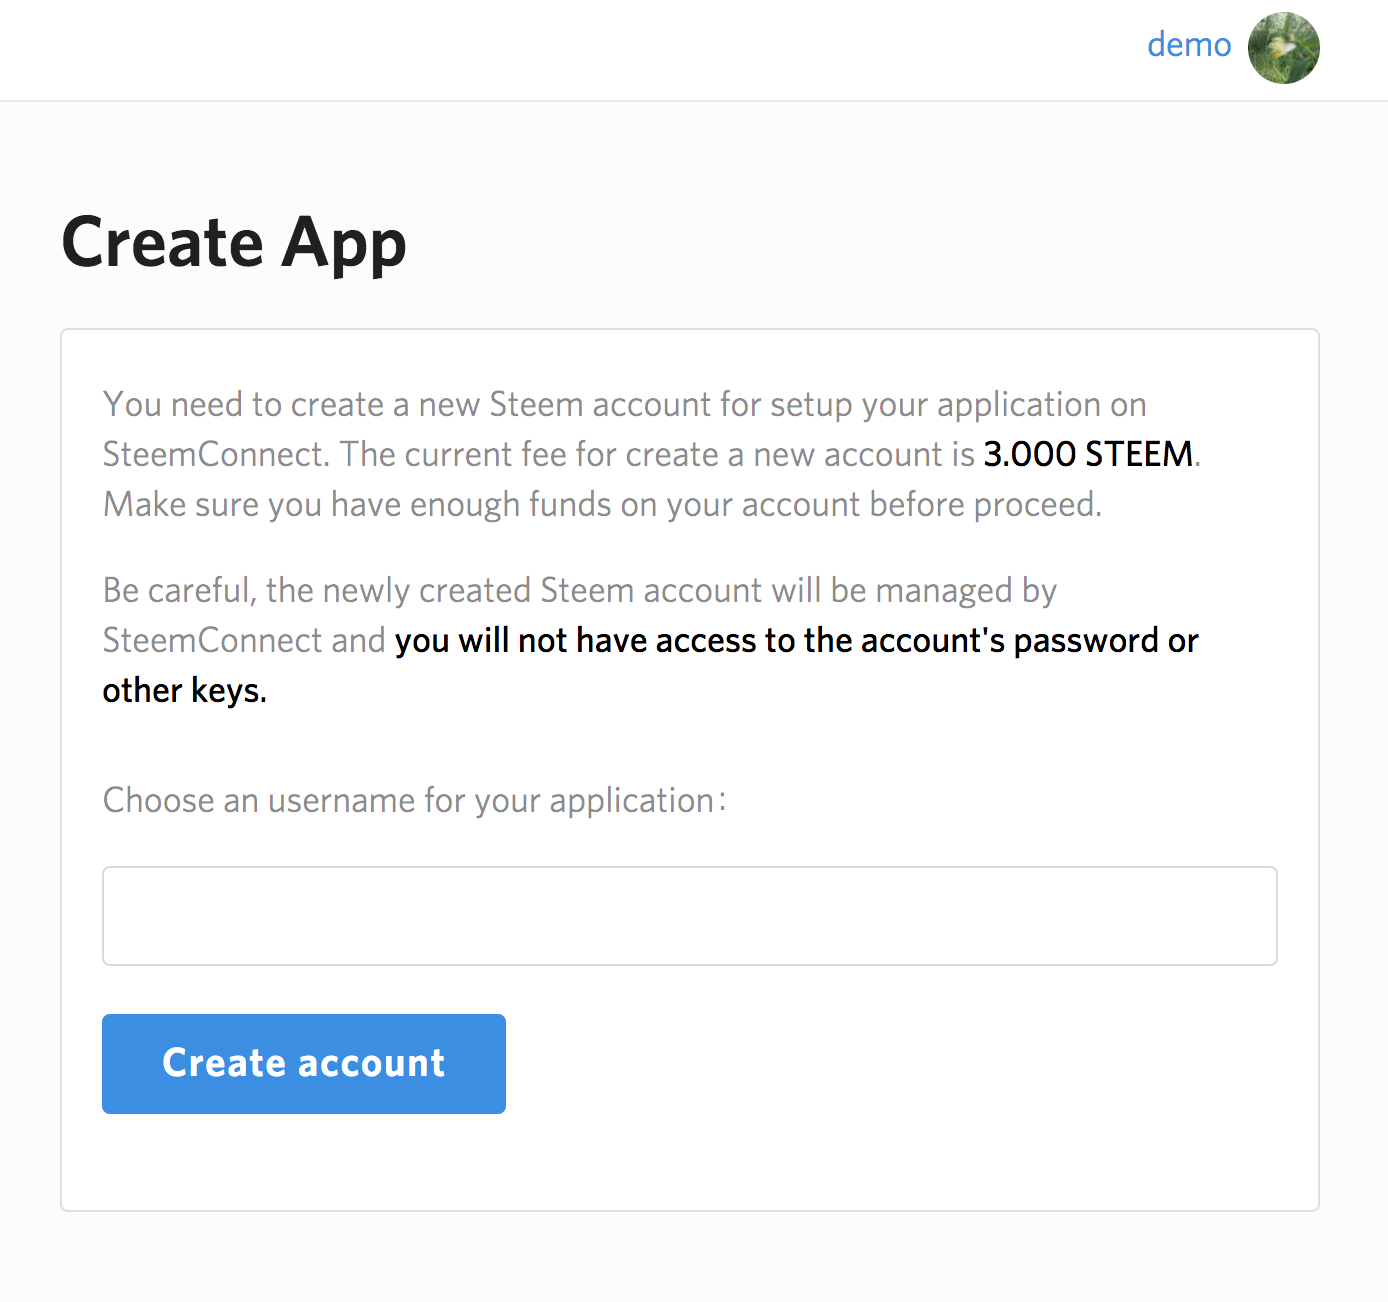
Account creation fee will be deducted from your balance, make sure you have enough funds to complete account creation.
Next step is to login with account which has enough balance to pay for account creation fee.
1d. Give your app name, description, icon image link, website (if available) and Redirect URI(s)
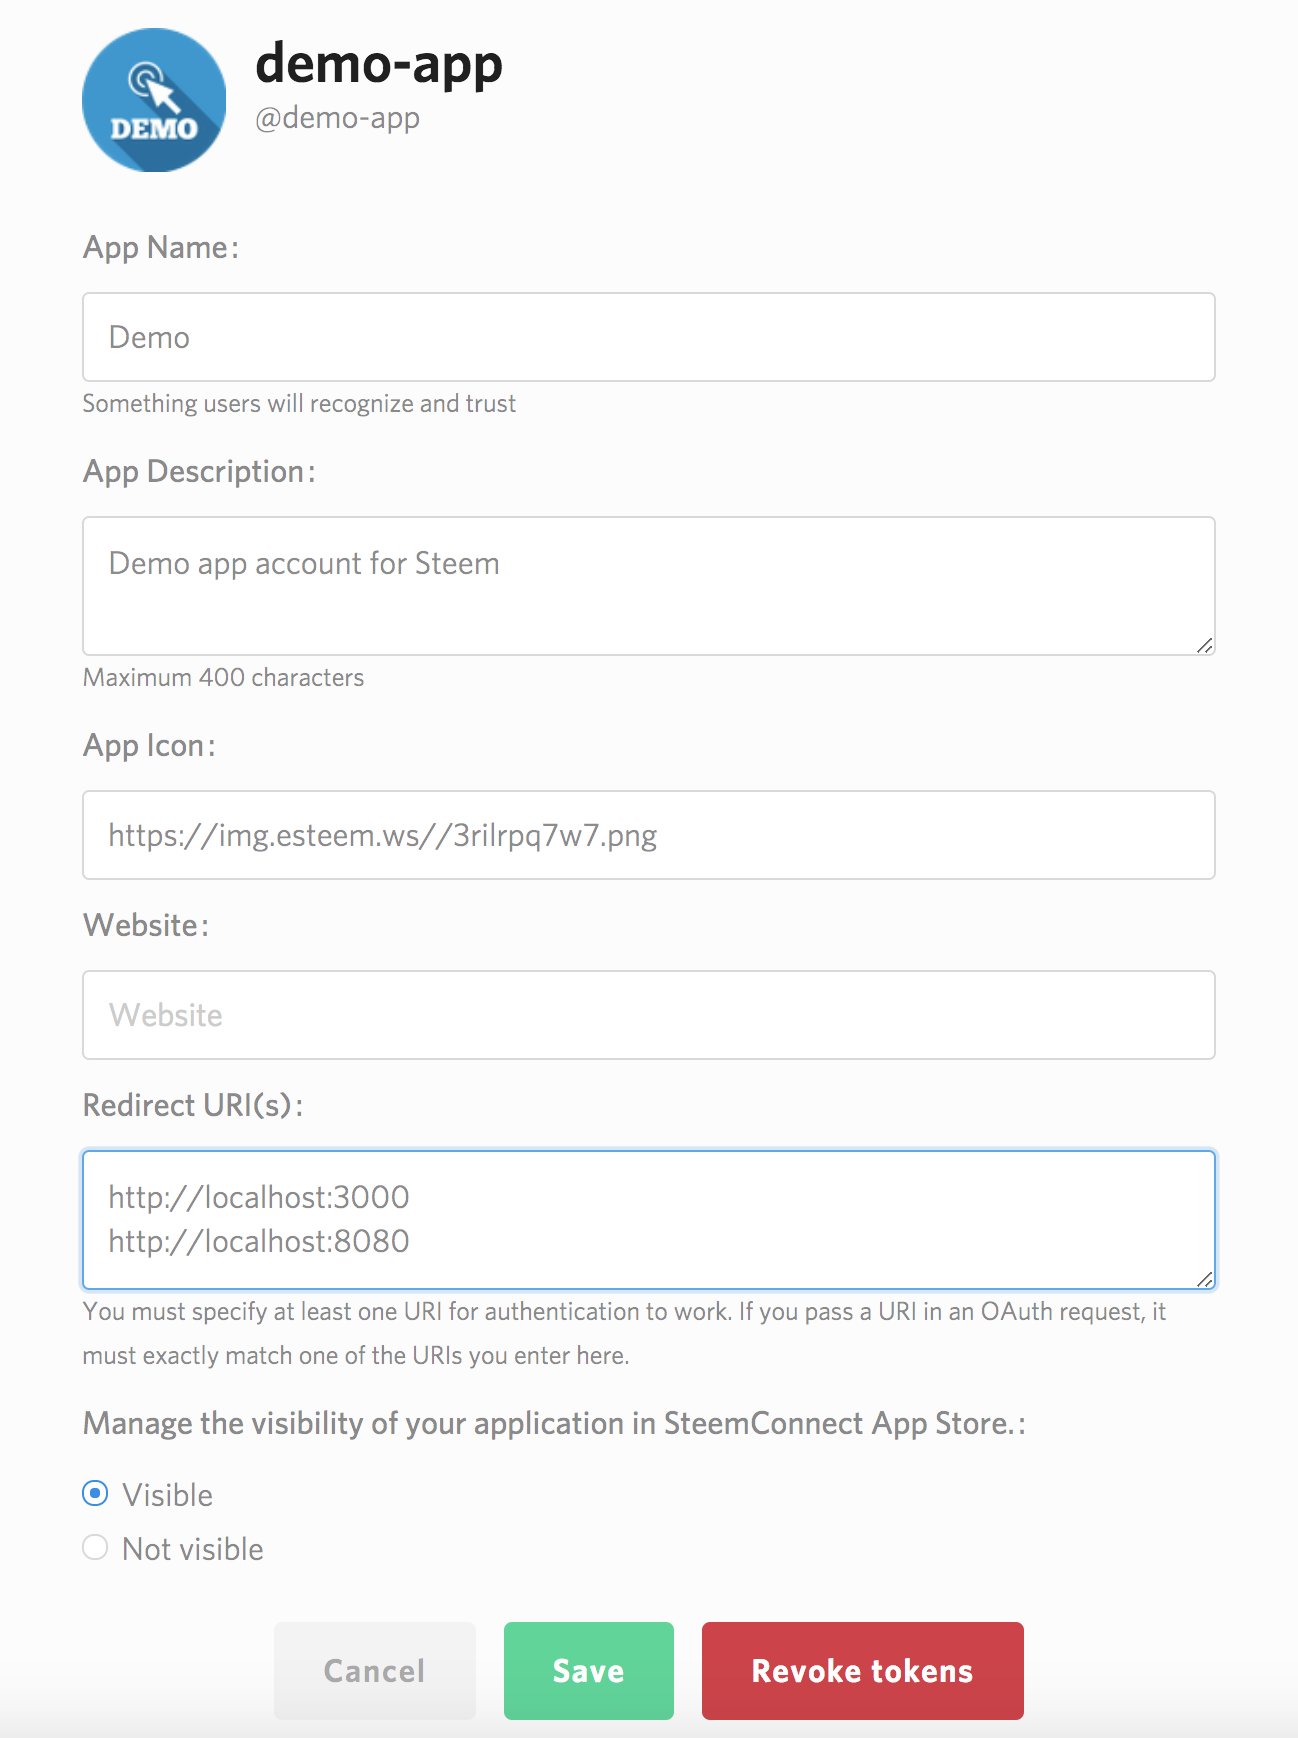
Application name and description should give users clear understanding what permissions it requires and what is the purpose of the app.
App Icon field should be publicly accessible and available link to your logo or icon.
Website field is homepage for the application if exist.
Redirect URI(s) will be used within your application to forward user after authentification is successful. You can specify multiple callback URLs with each new line. Callback in Steemconnect SDK should match exactly one of URI(s) specified on this page. Due to security reasons if redirect URI(s) used in SDK is other than you specified, it will not work. This is typical backend web development, we hope you know how to set up your backend/app to handle callback URLs.
- Disclaimer: All images/screenshots of user interface may change as Steemconnect evolves
2. Initialize Steemconnect
Once you have setup account for new application, you can setup application with Steemconnect authentification and API processes.
To do that, you will need to install sc2-sdk nodejs package with npm i sc2-sdk.
Within application you can initialize Steemconnect
app- is account name for application that we have created in Step I.3,callbackURL- is Redirect URI that we have defined in Step I.4,scope- permissions application is requiring/asking from users
Now that sc2-sdk is initialized we can start authentication and perform simple operations with Steemconnect.
3. Login URL
getLoginURLfunction you see on the right side, returns login URL which will redirect user to sign in with Steem connect screen. Successfull login will redirect user to Redirect URI orcallbackURL. Result of successful login will returnaccess_token,expires_inandusernameinformation, which application will start utilizing.
4. Request token
Application can request returned link into popup screen or relevant screen you have developed. Popup screen will ask user to identify themselves with their username and password. Once login is successful, you will have Results
5. Set token
Returned data has
access_token- which will be used in future api calls,expires_in- how long access token is valid in seconds andusernameof logged in user.
After getting
access_token, we can set token for future Steemconnect API requests.
6. Get user data
Users info can be checked with
mewhich will return objectaccount- current state of account and its details on Steem blockchain,name- username,scope- permissions allowed with current login,user- username,user_metadata- additional information user has setup.
7. Logout
In order to logout, you can use
revokeTokenfunction from sc2-sdk.
That’s all there is to it.
To Run the tutorial
- clone this repo
cd tutorials/02_steemconnectnpm inpm run dev-serverornpm run start- After a few moments, the server should be running at http://localhost:3000/